
Panels can be awesome. They can also be a pain.
The biggest problem? No true standard size. Often fabric designers will counter this problem with patterns specifically for their panel. But it makes it difficult to write independent panel patterns because there isn’t a magical size to plan for so that your pattern can be used again and again with different panels. The closest thing to standard is approximately 5/8 yd x WOF (22.5” x 42”) so that’s usually where I start my planning.
The second biggest problem? Printing isn’t a perfect process and panels usually are not perfectly square. Some panels can be trimmed to perfection others rely on the ancient art of faking it.
The solution? Sashing. Every panel quilt I design relies on sashing the panels before trimming to the needed size. Read below for an overview of the process with some helpful tips and tricks.
-
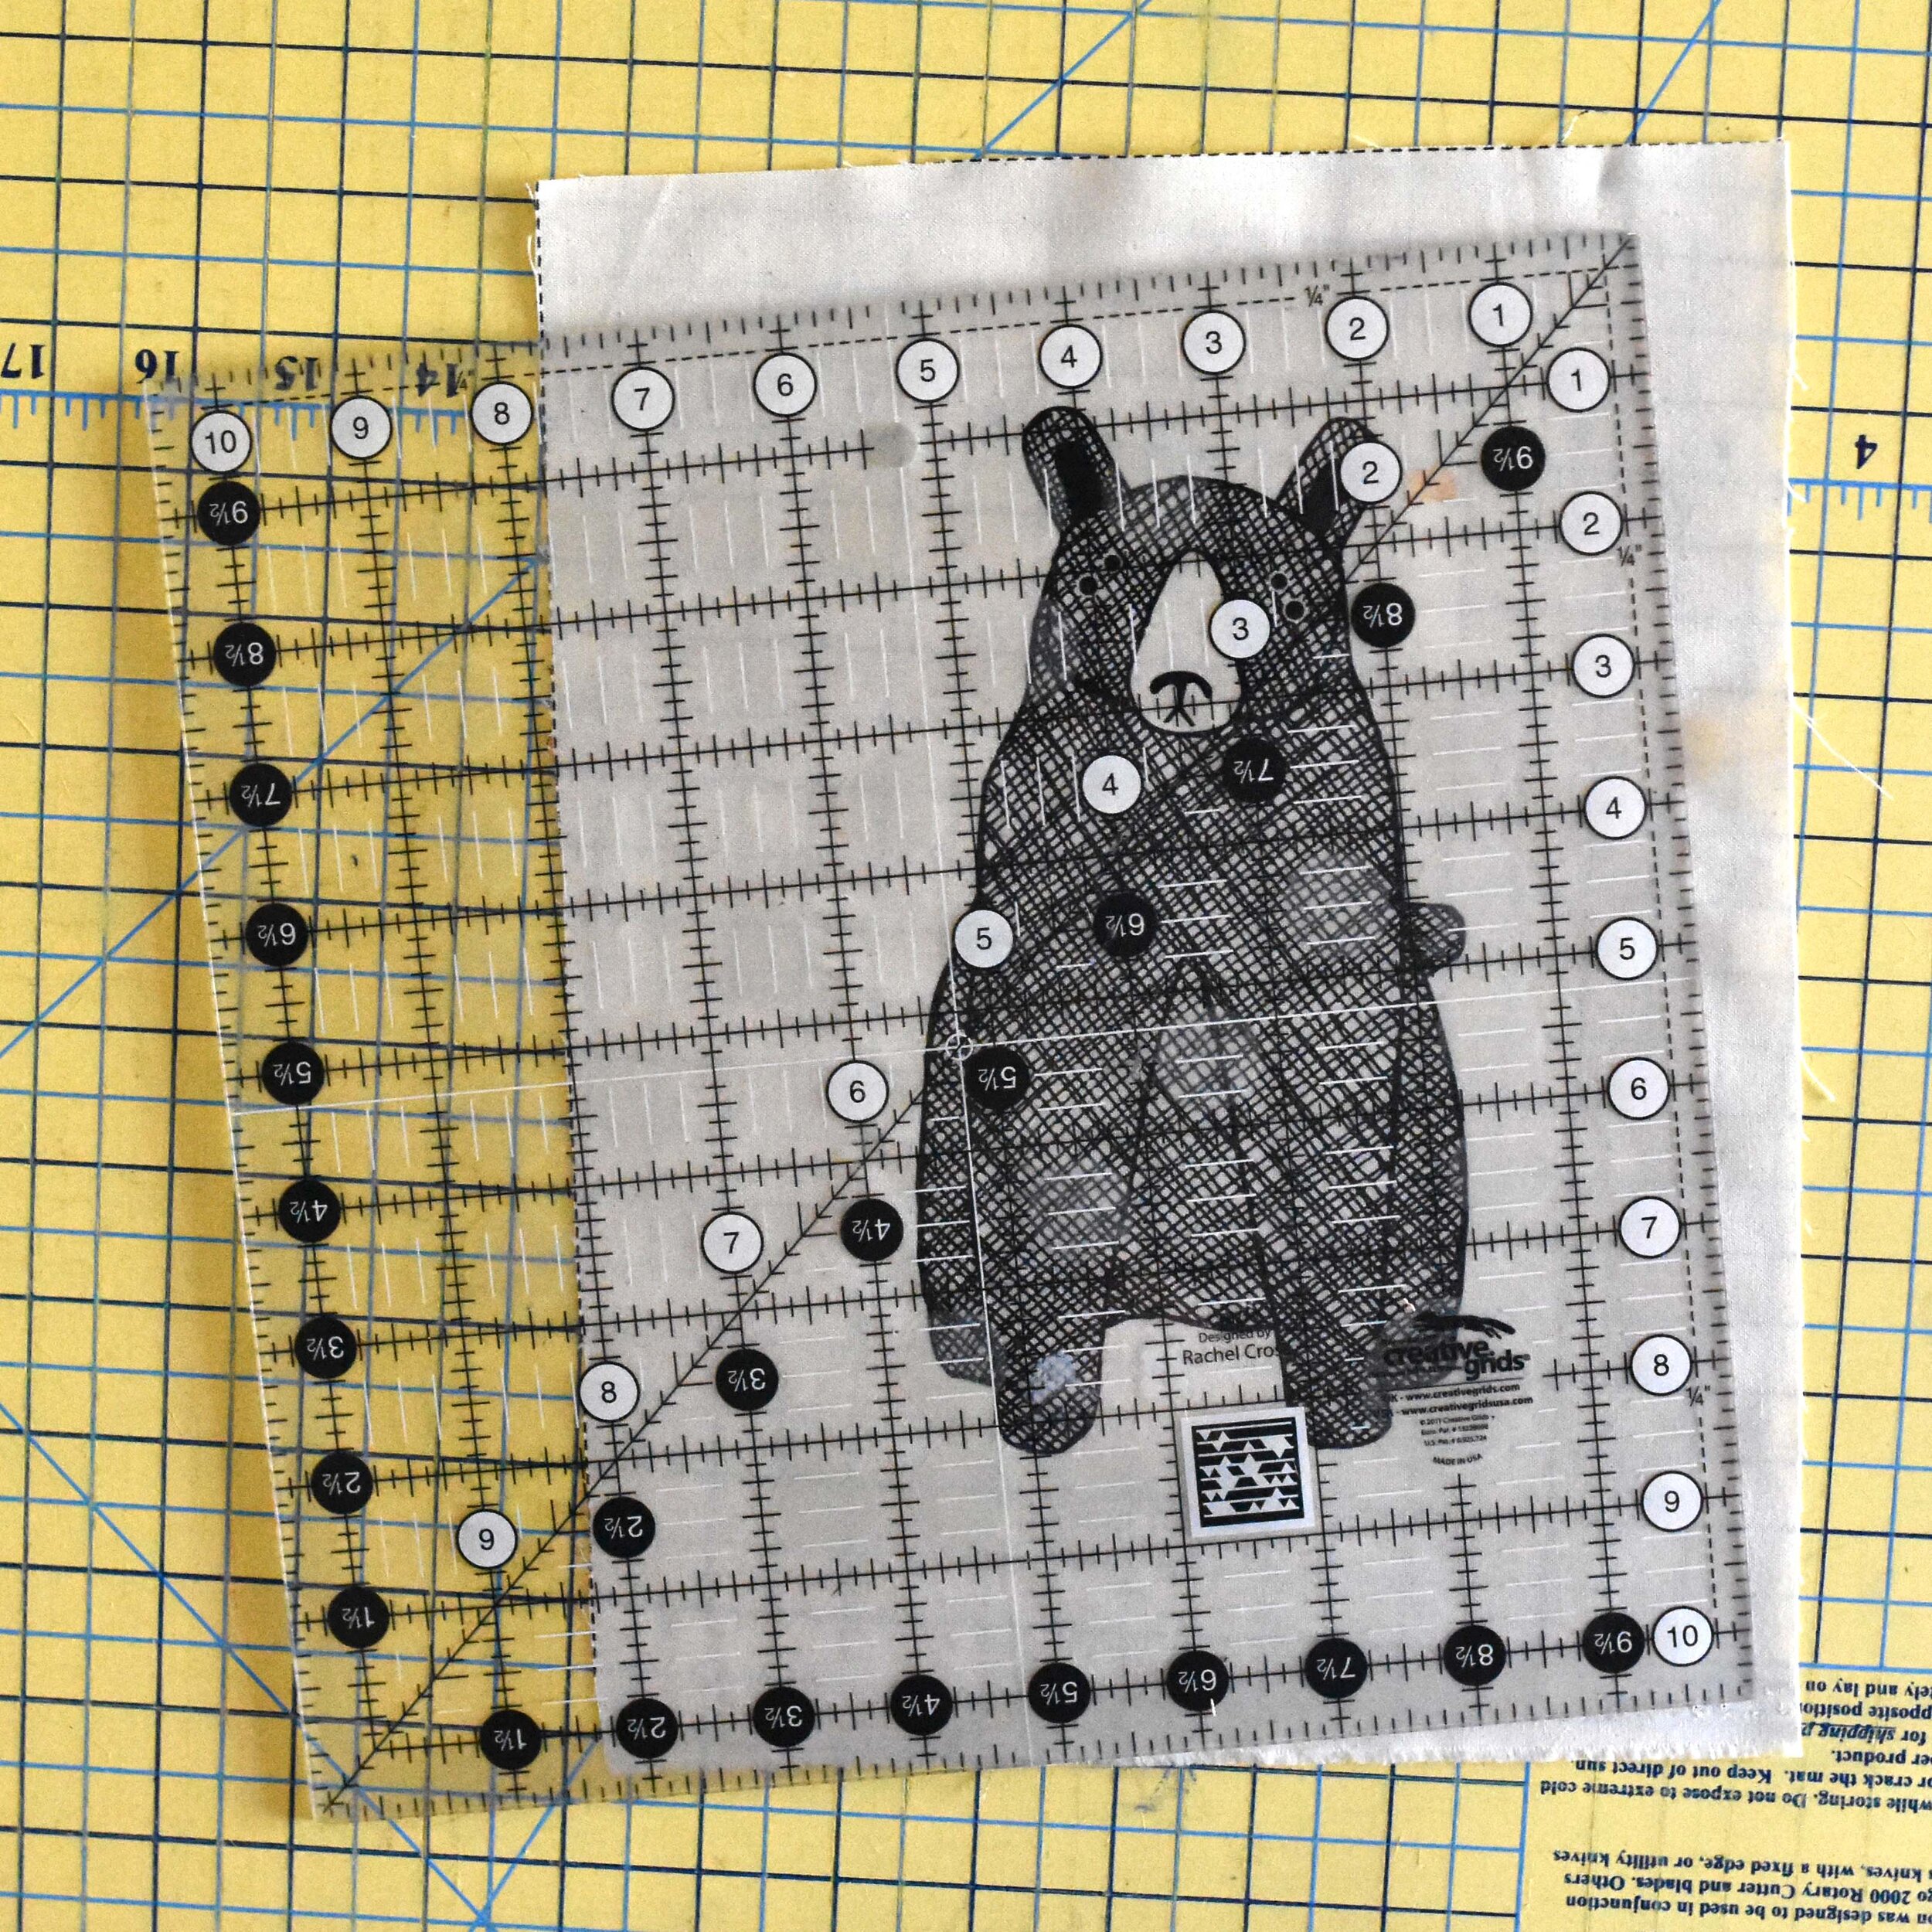
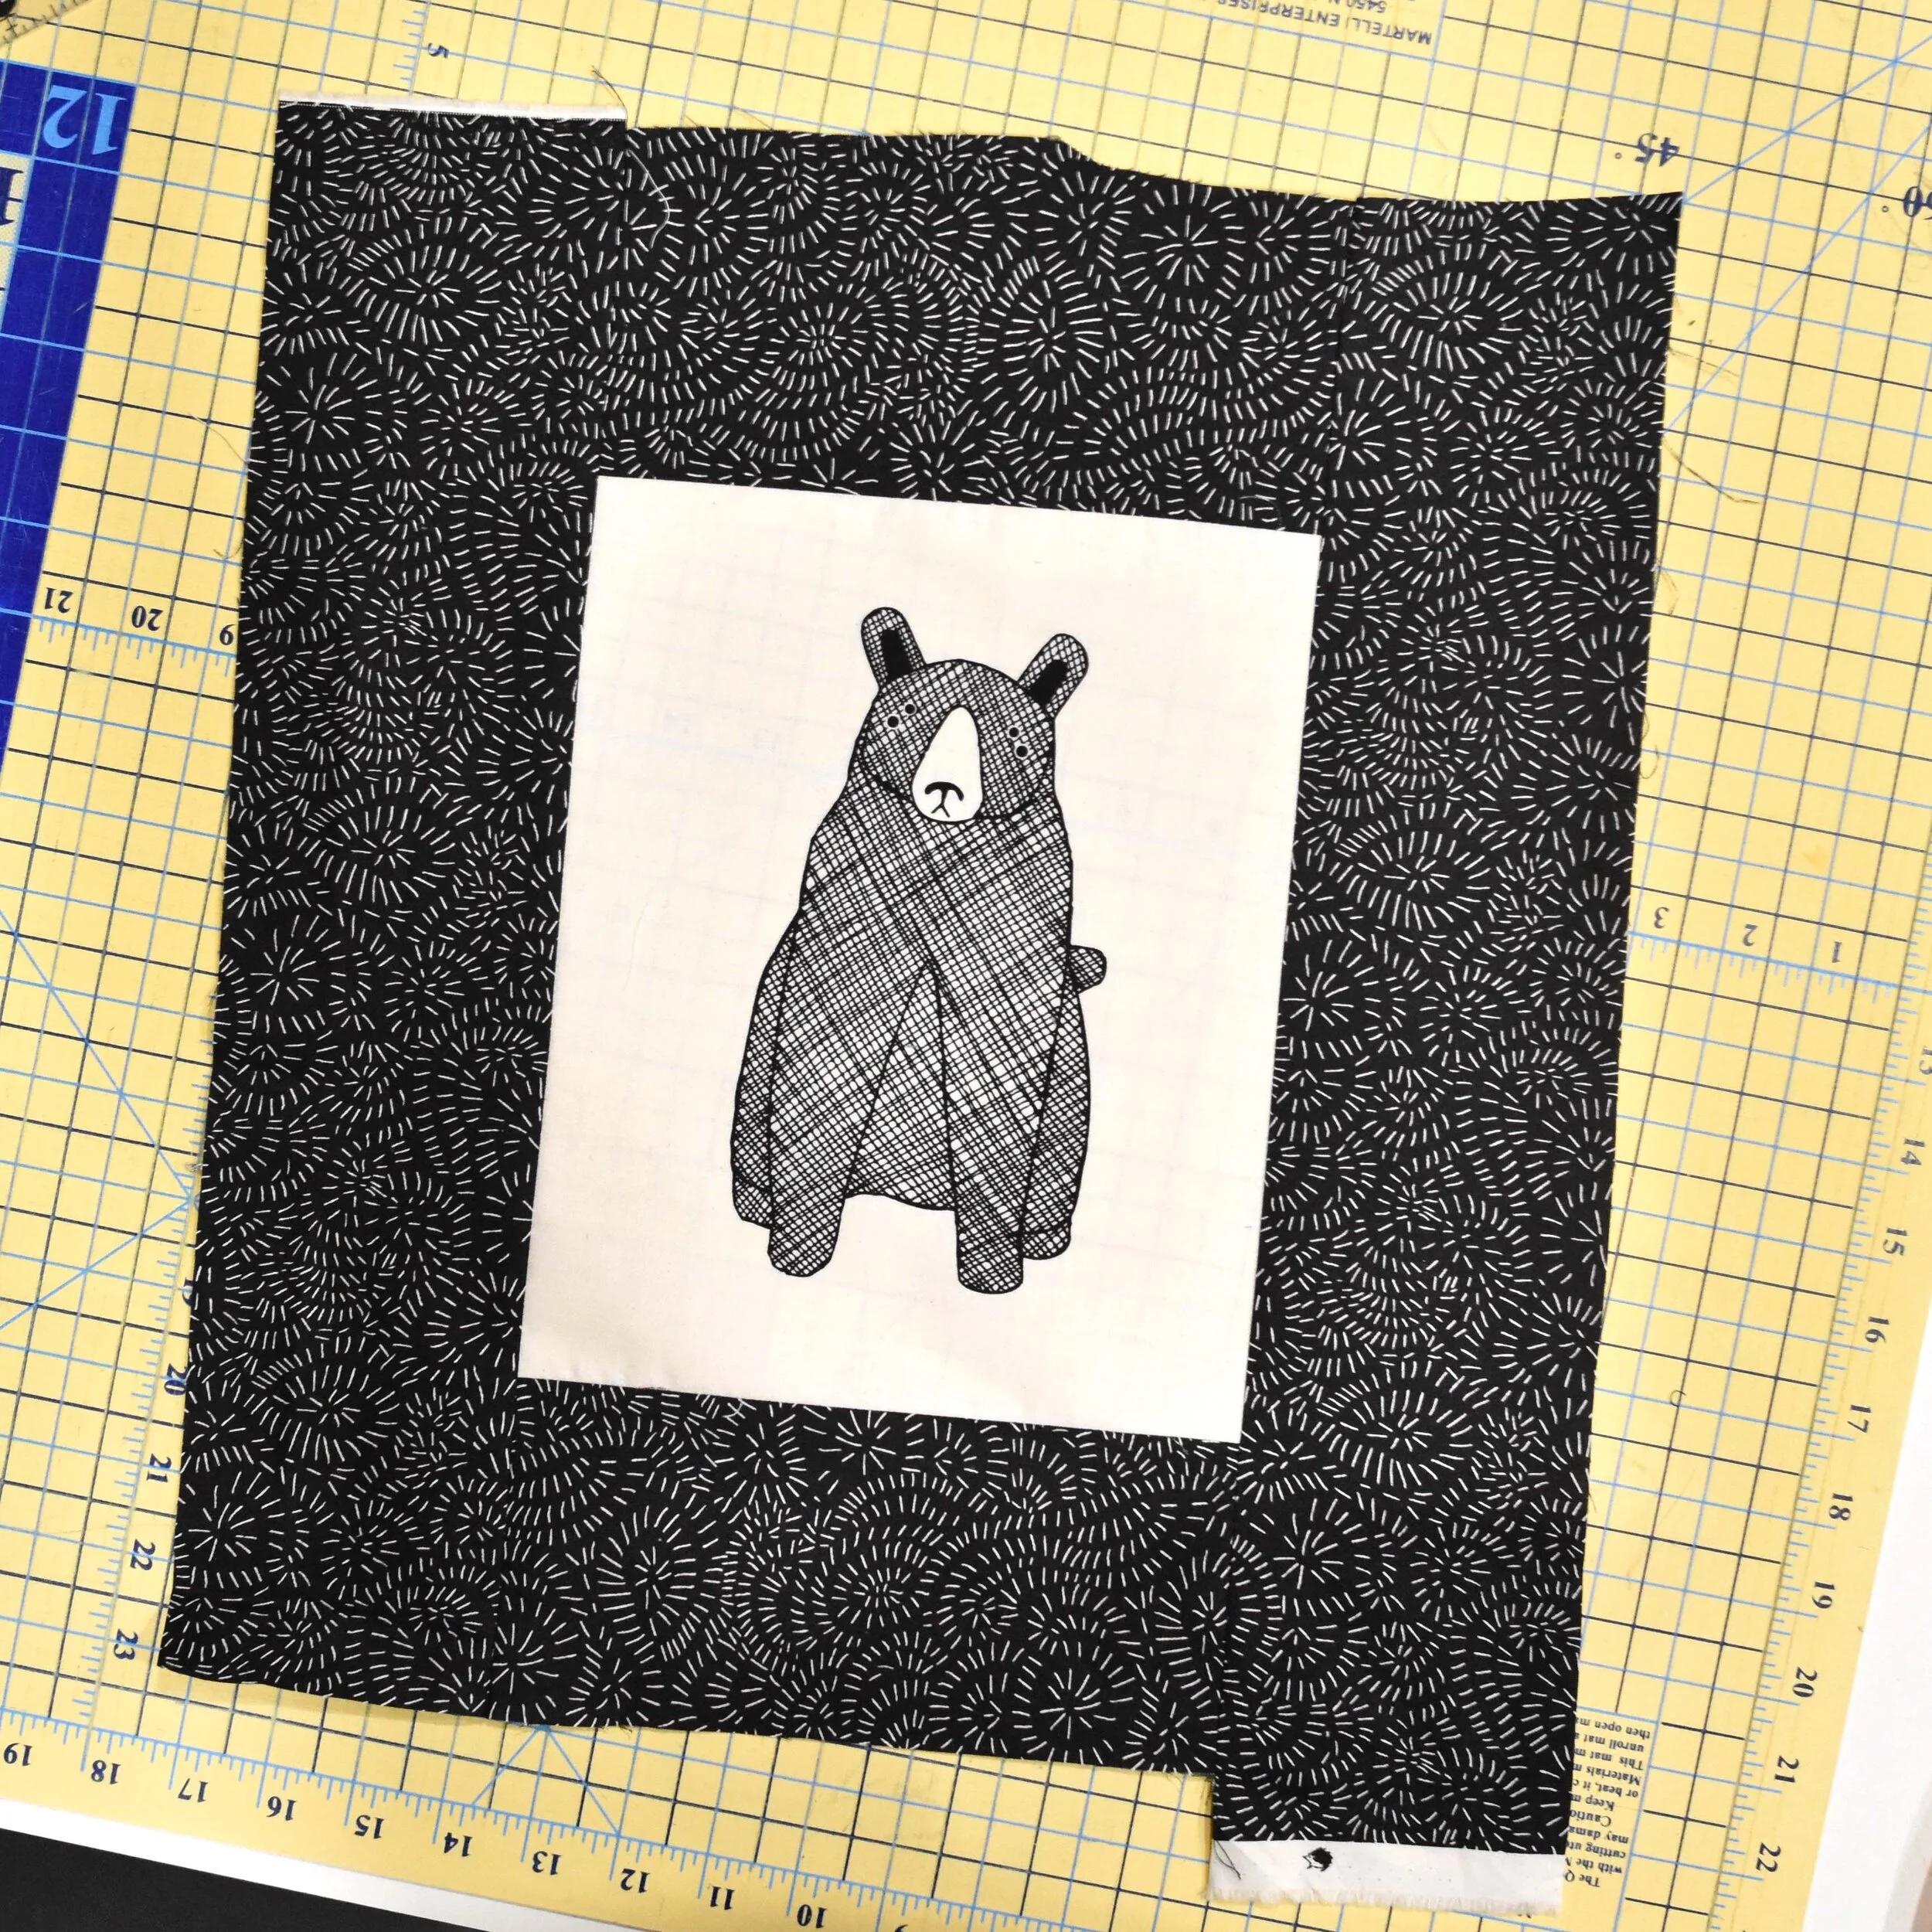
Trim your panel.
-
When possible trim to nice round numbers (whole, half, and quarter inches). You’re going to be sashing this and if you want the same amount of sashing on each side of the panel, you’ll need to find your center and do some math. Round numbers are much easier to calculate (buy hey, if you want to deal with 1/16” go for it)
-
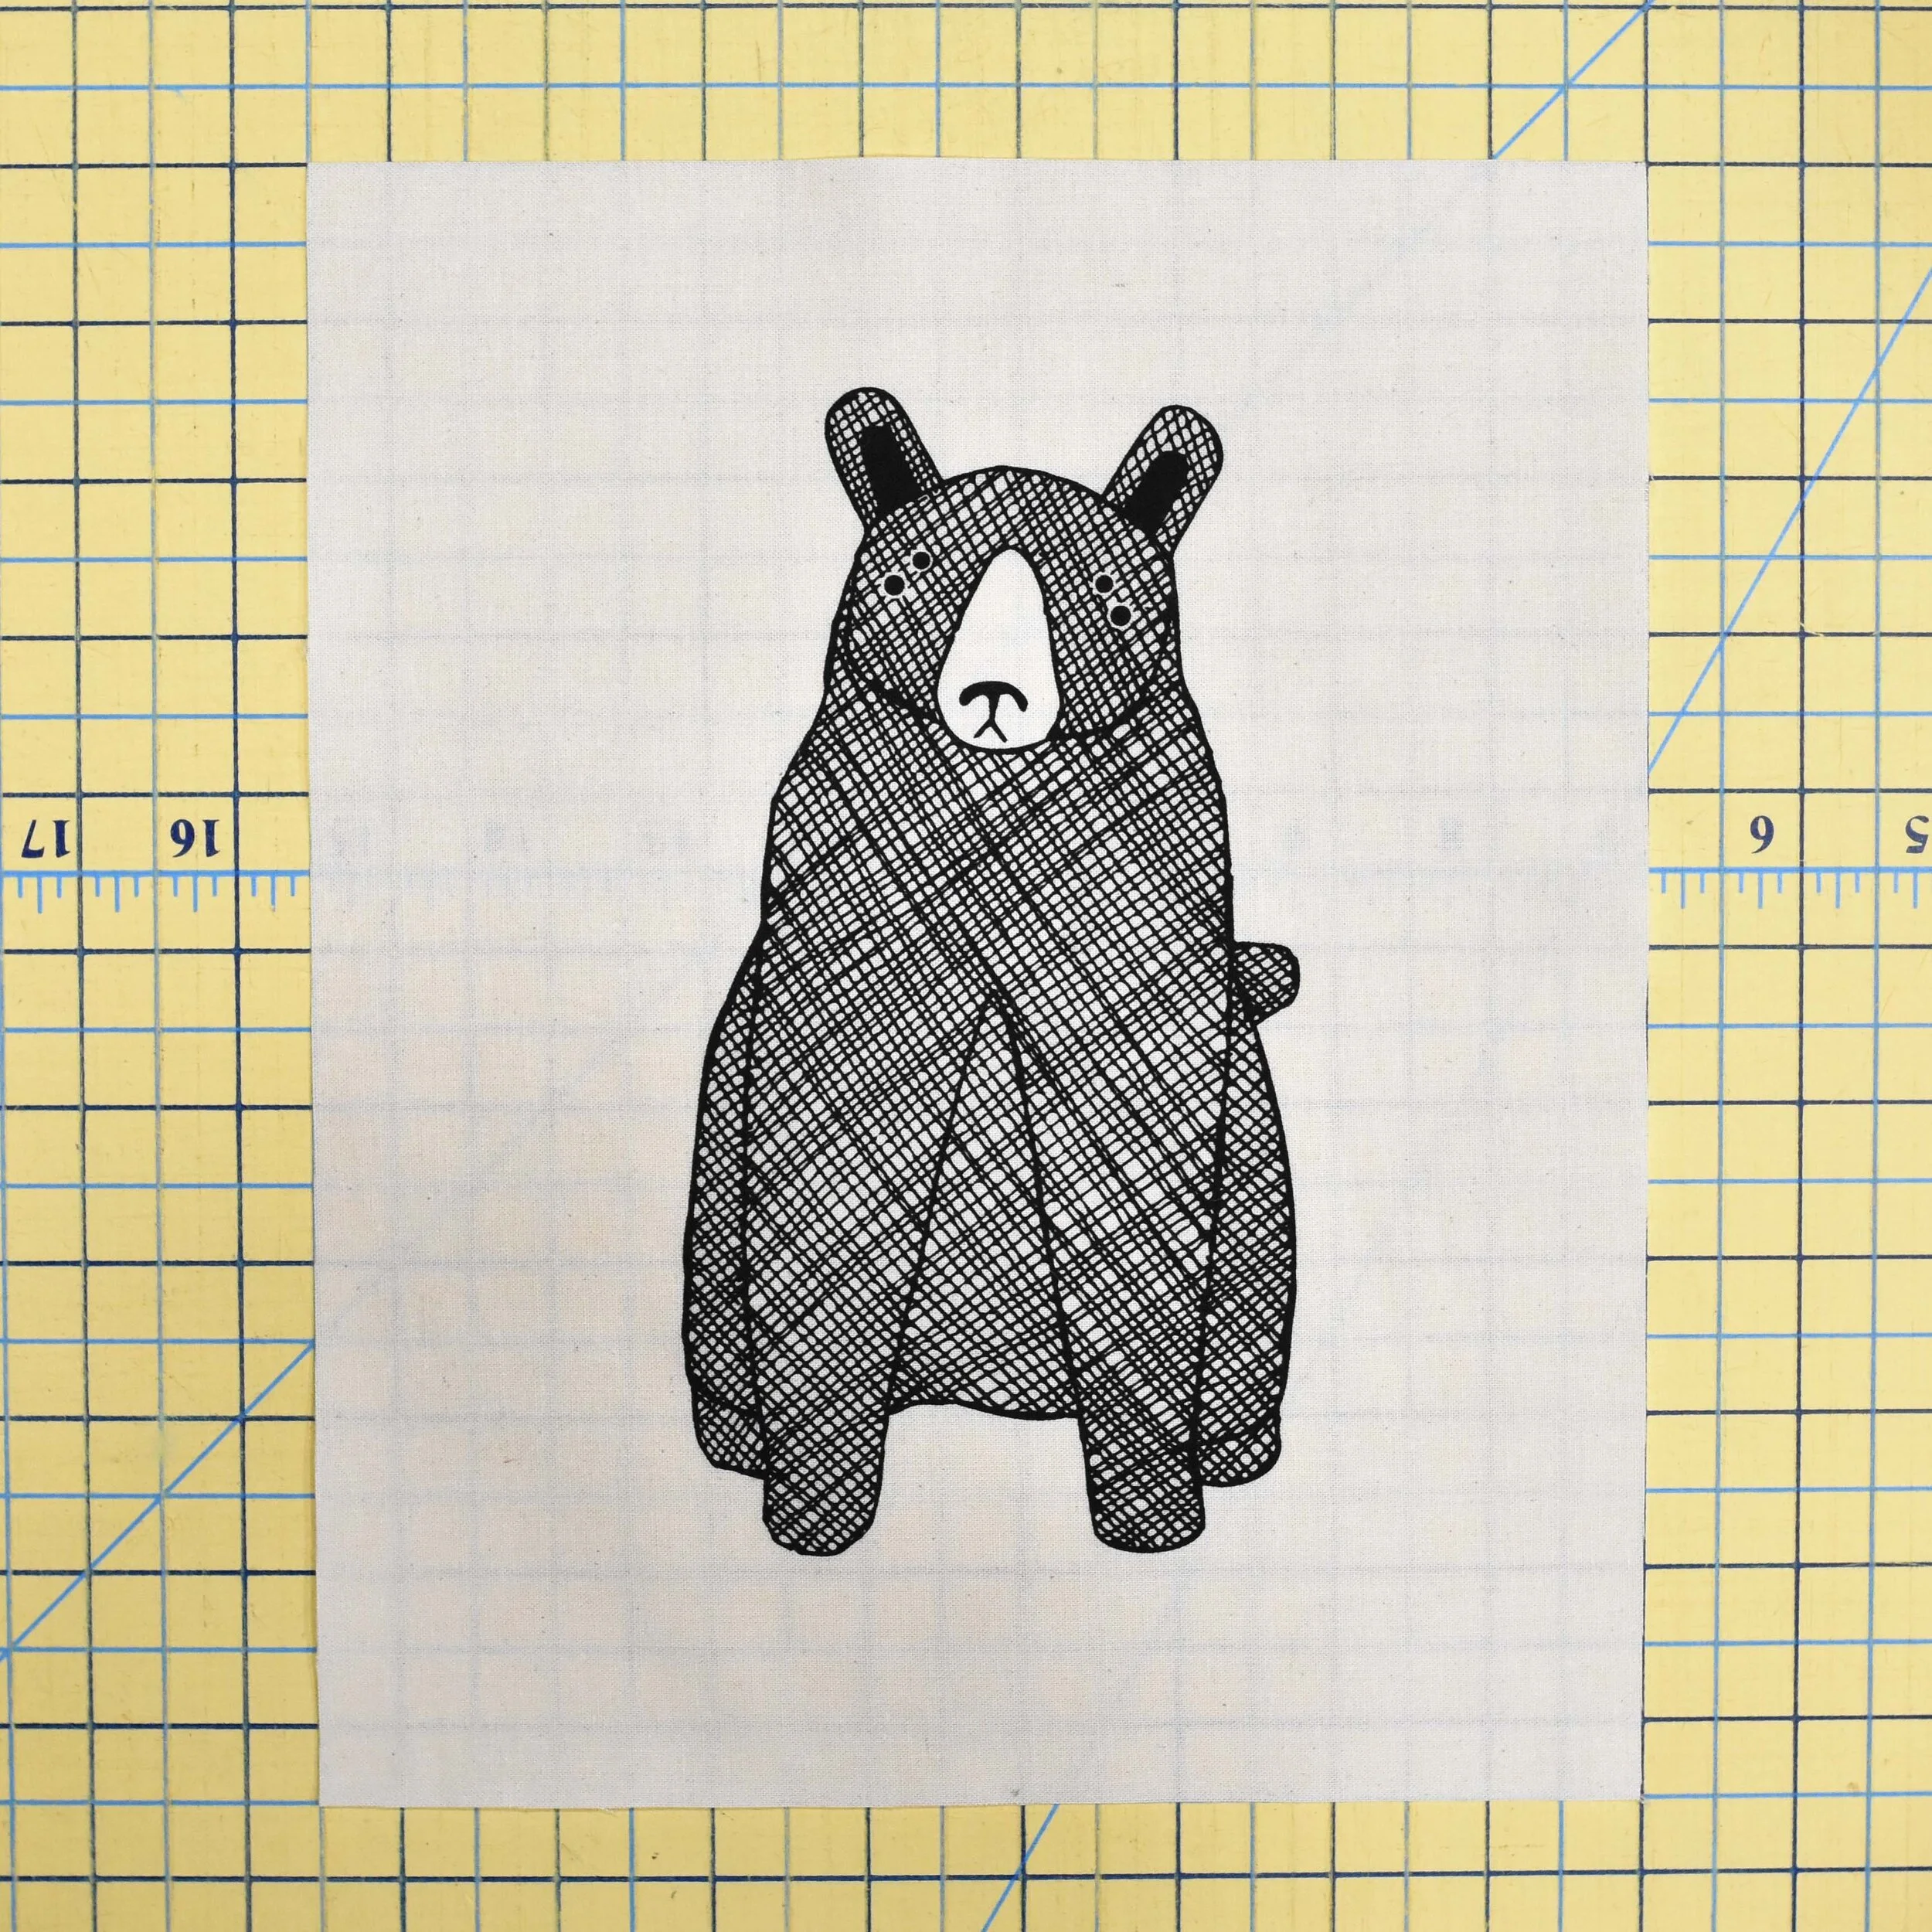
Some panels like this bear feature a lot of space around a central design. These are my favorite because there is plenty of space to square up and adjust slightly if needed
-
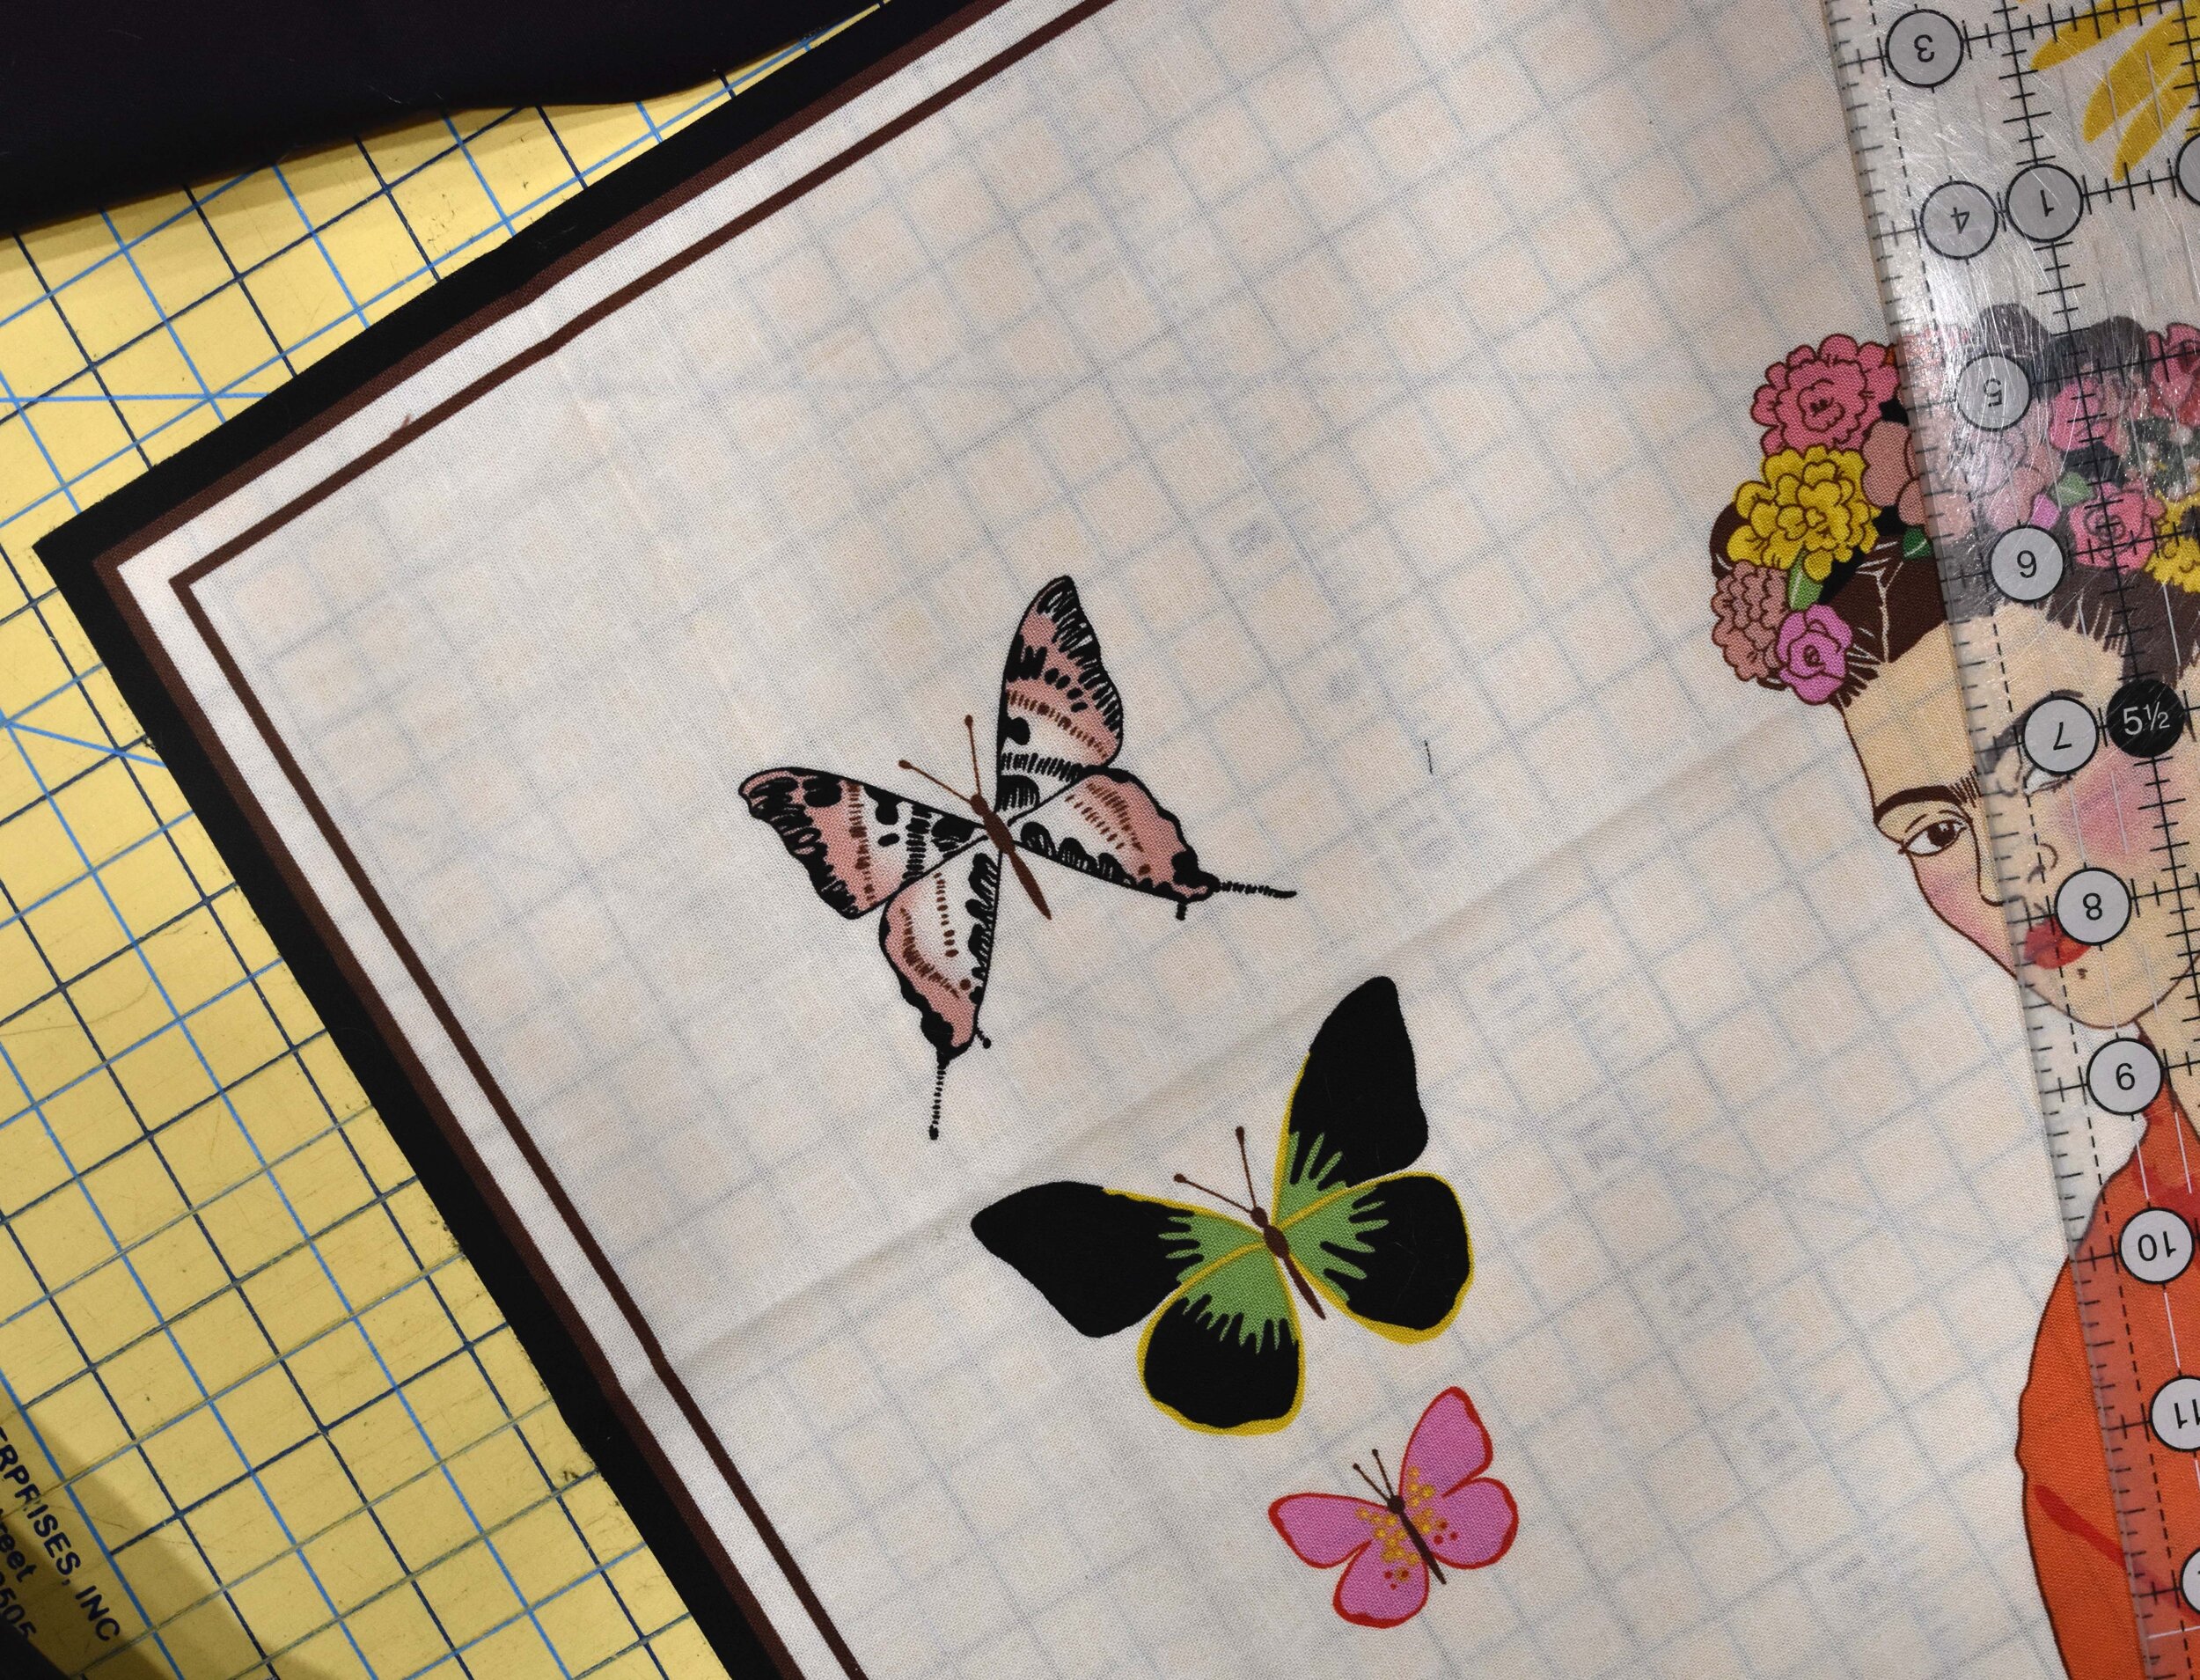
Others like Frida down below use up every square inch of space and even have printed borders. These are trickier because if the printing is too far out of square is can be very obvious. They also aren’t likely to cooperate with the round numbers. These are the ones that rely on easing and faking it if the printing isn’t perfect.
-
If you want to have the exact same amount of border on each side, scroll down for some math rambling. You will likely need to trim some of your panel off for this so if it is the kind of panel where you don’t want that, I would stick with uneven borders.
-
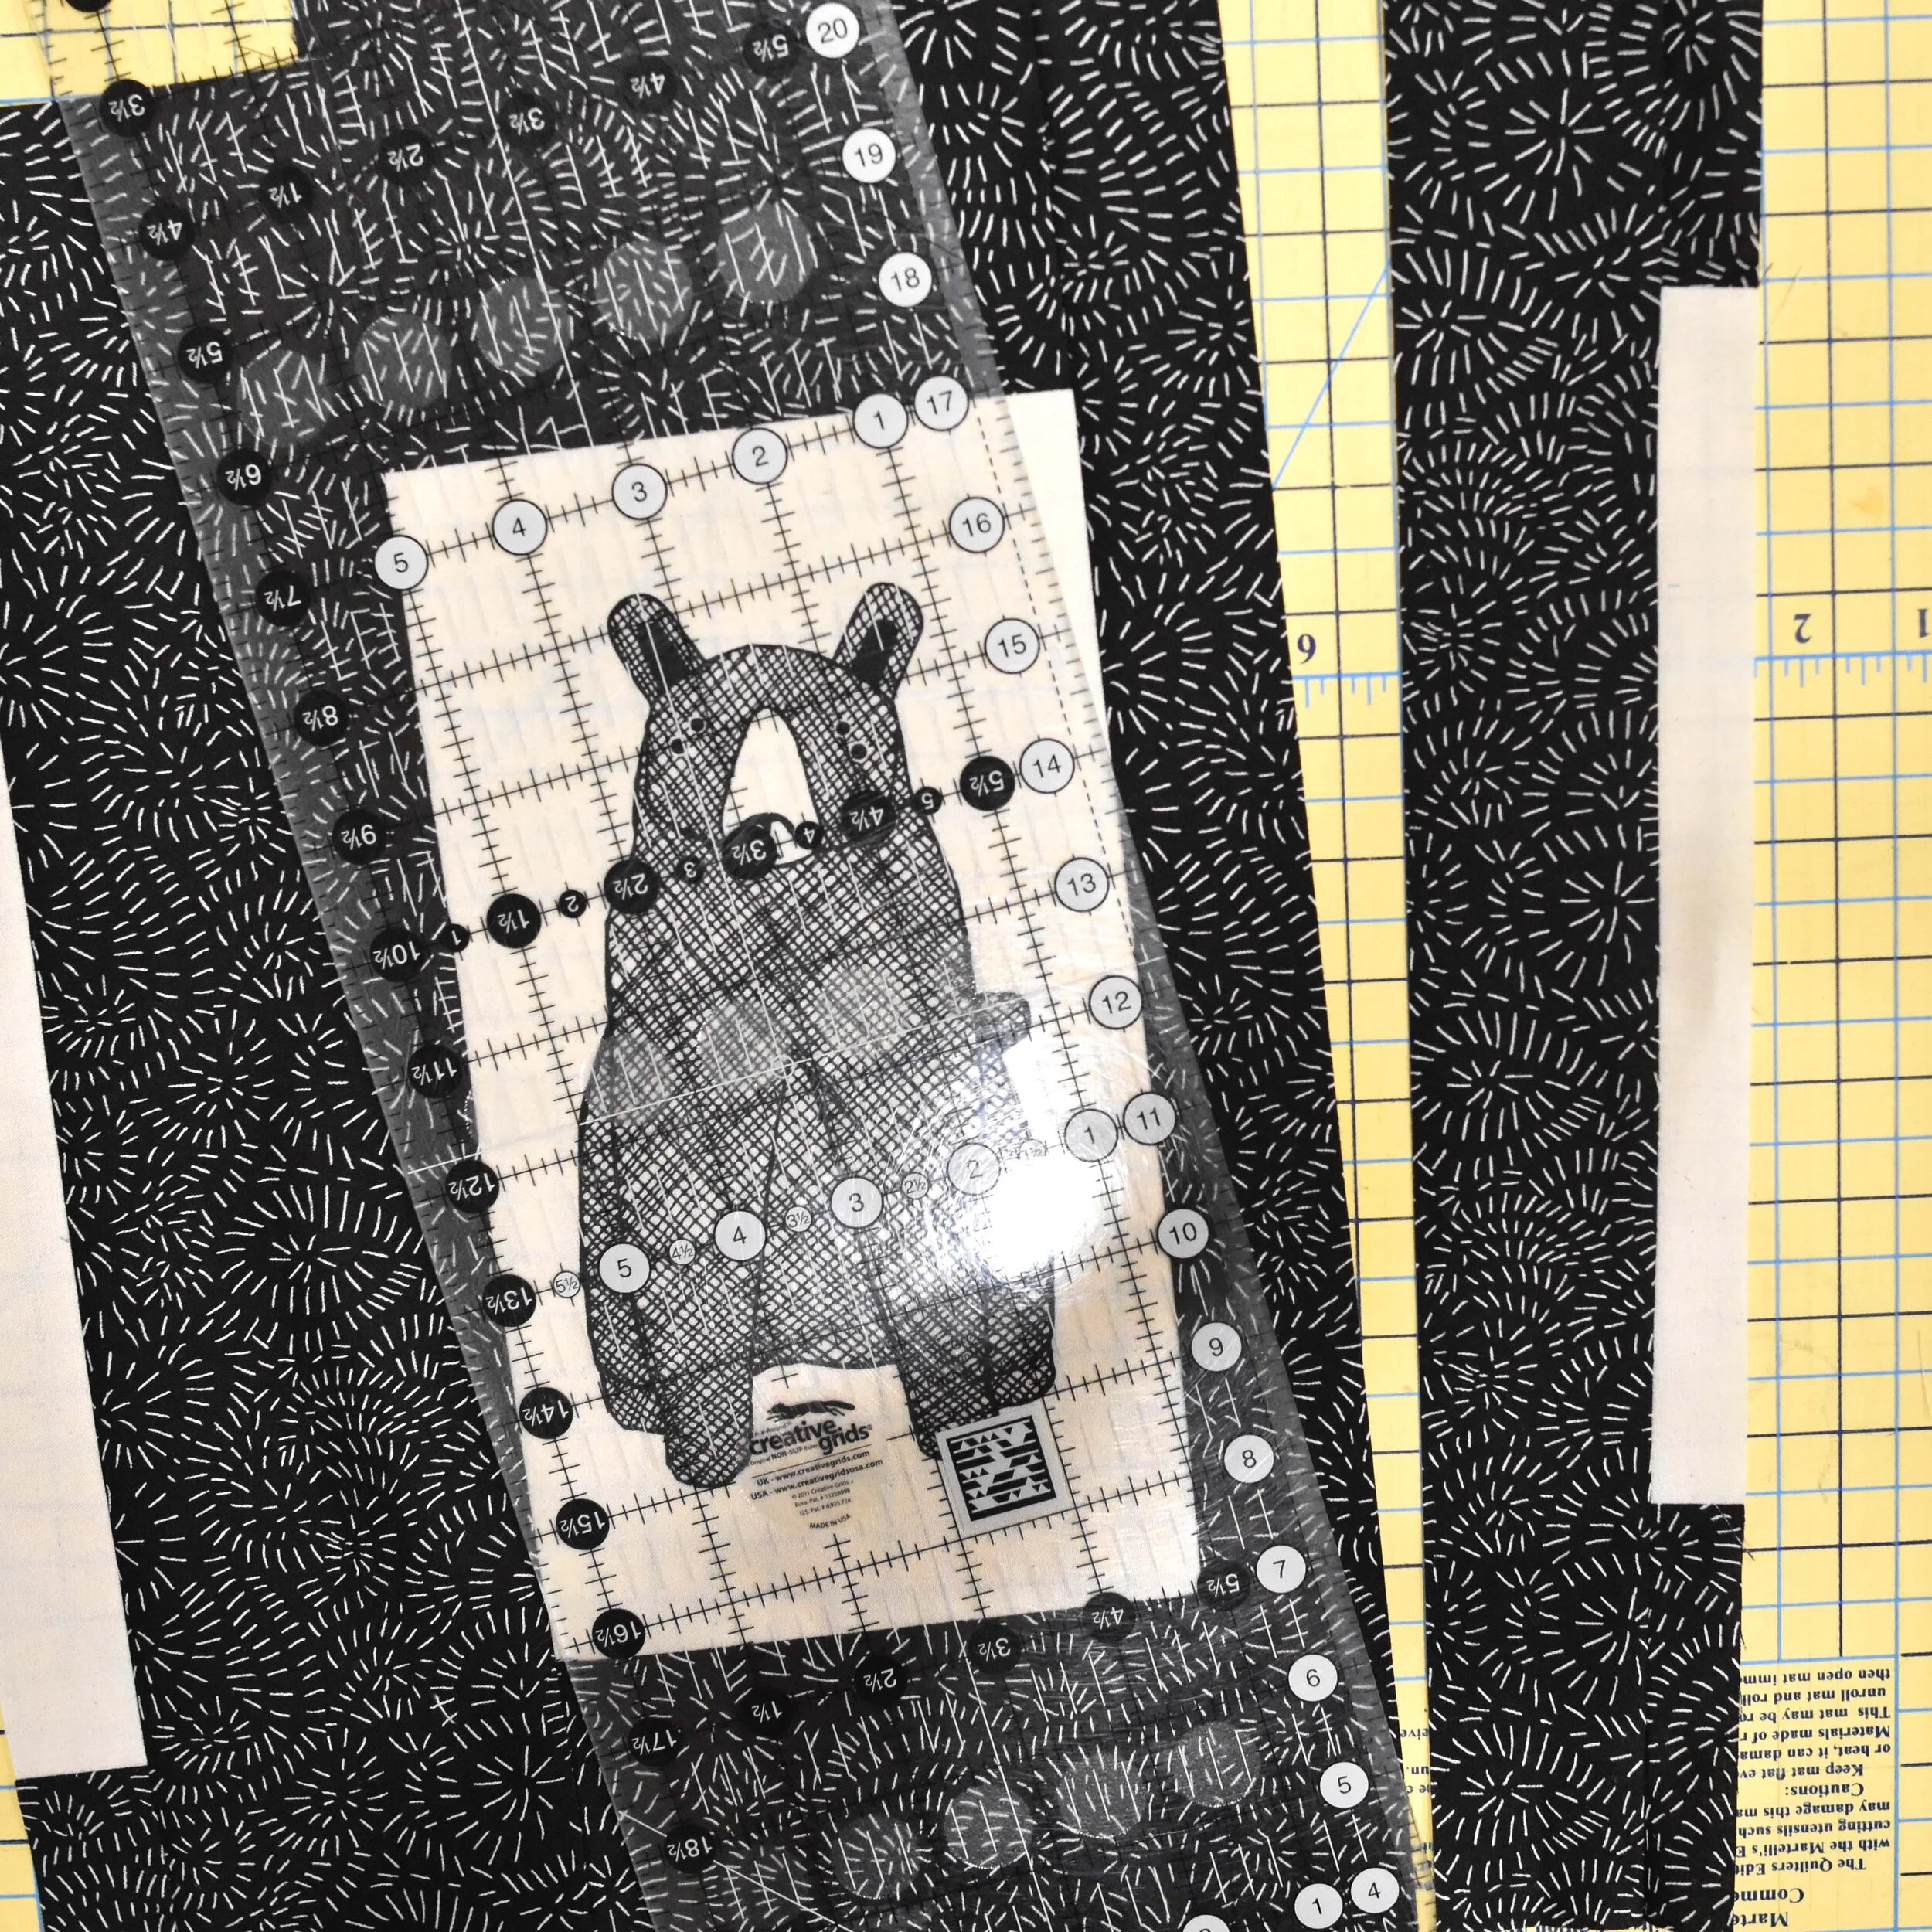
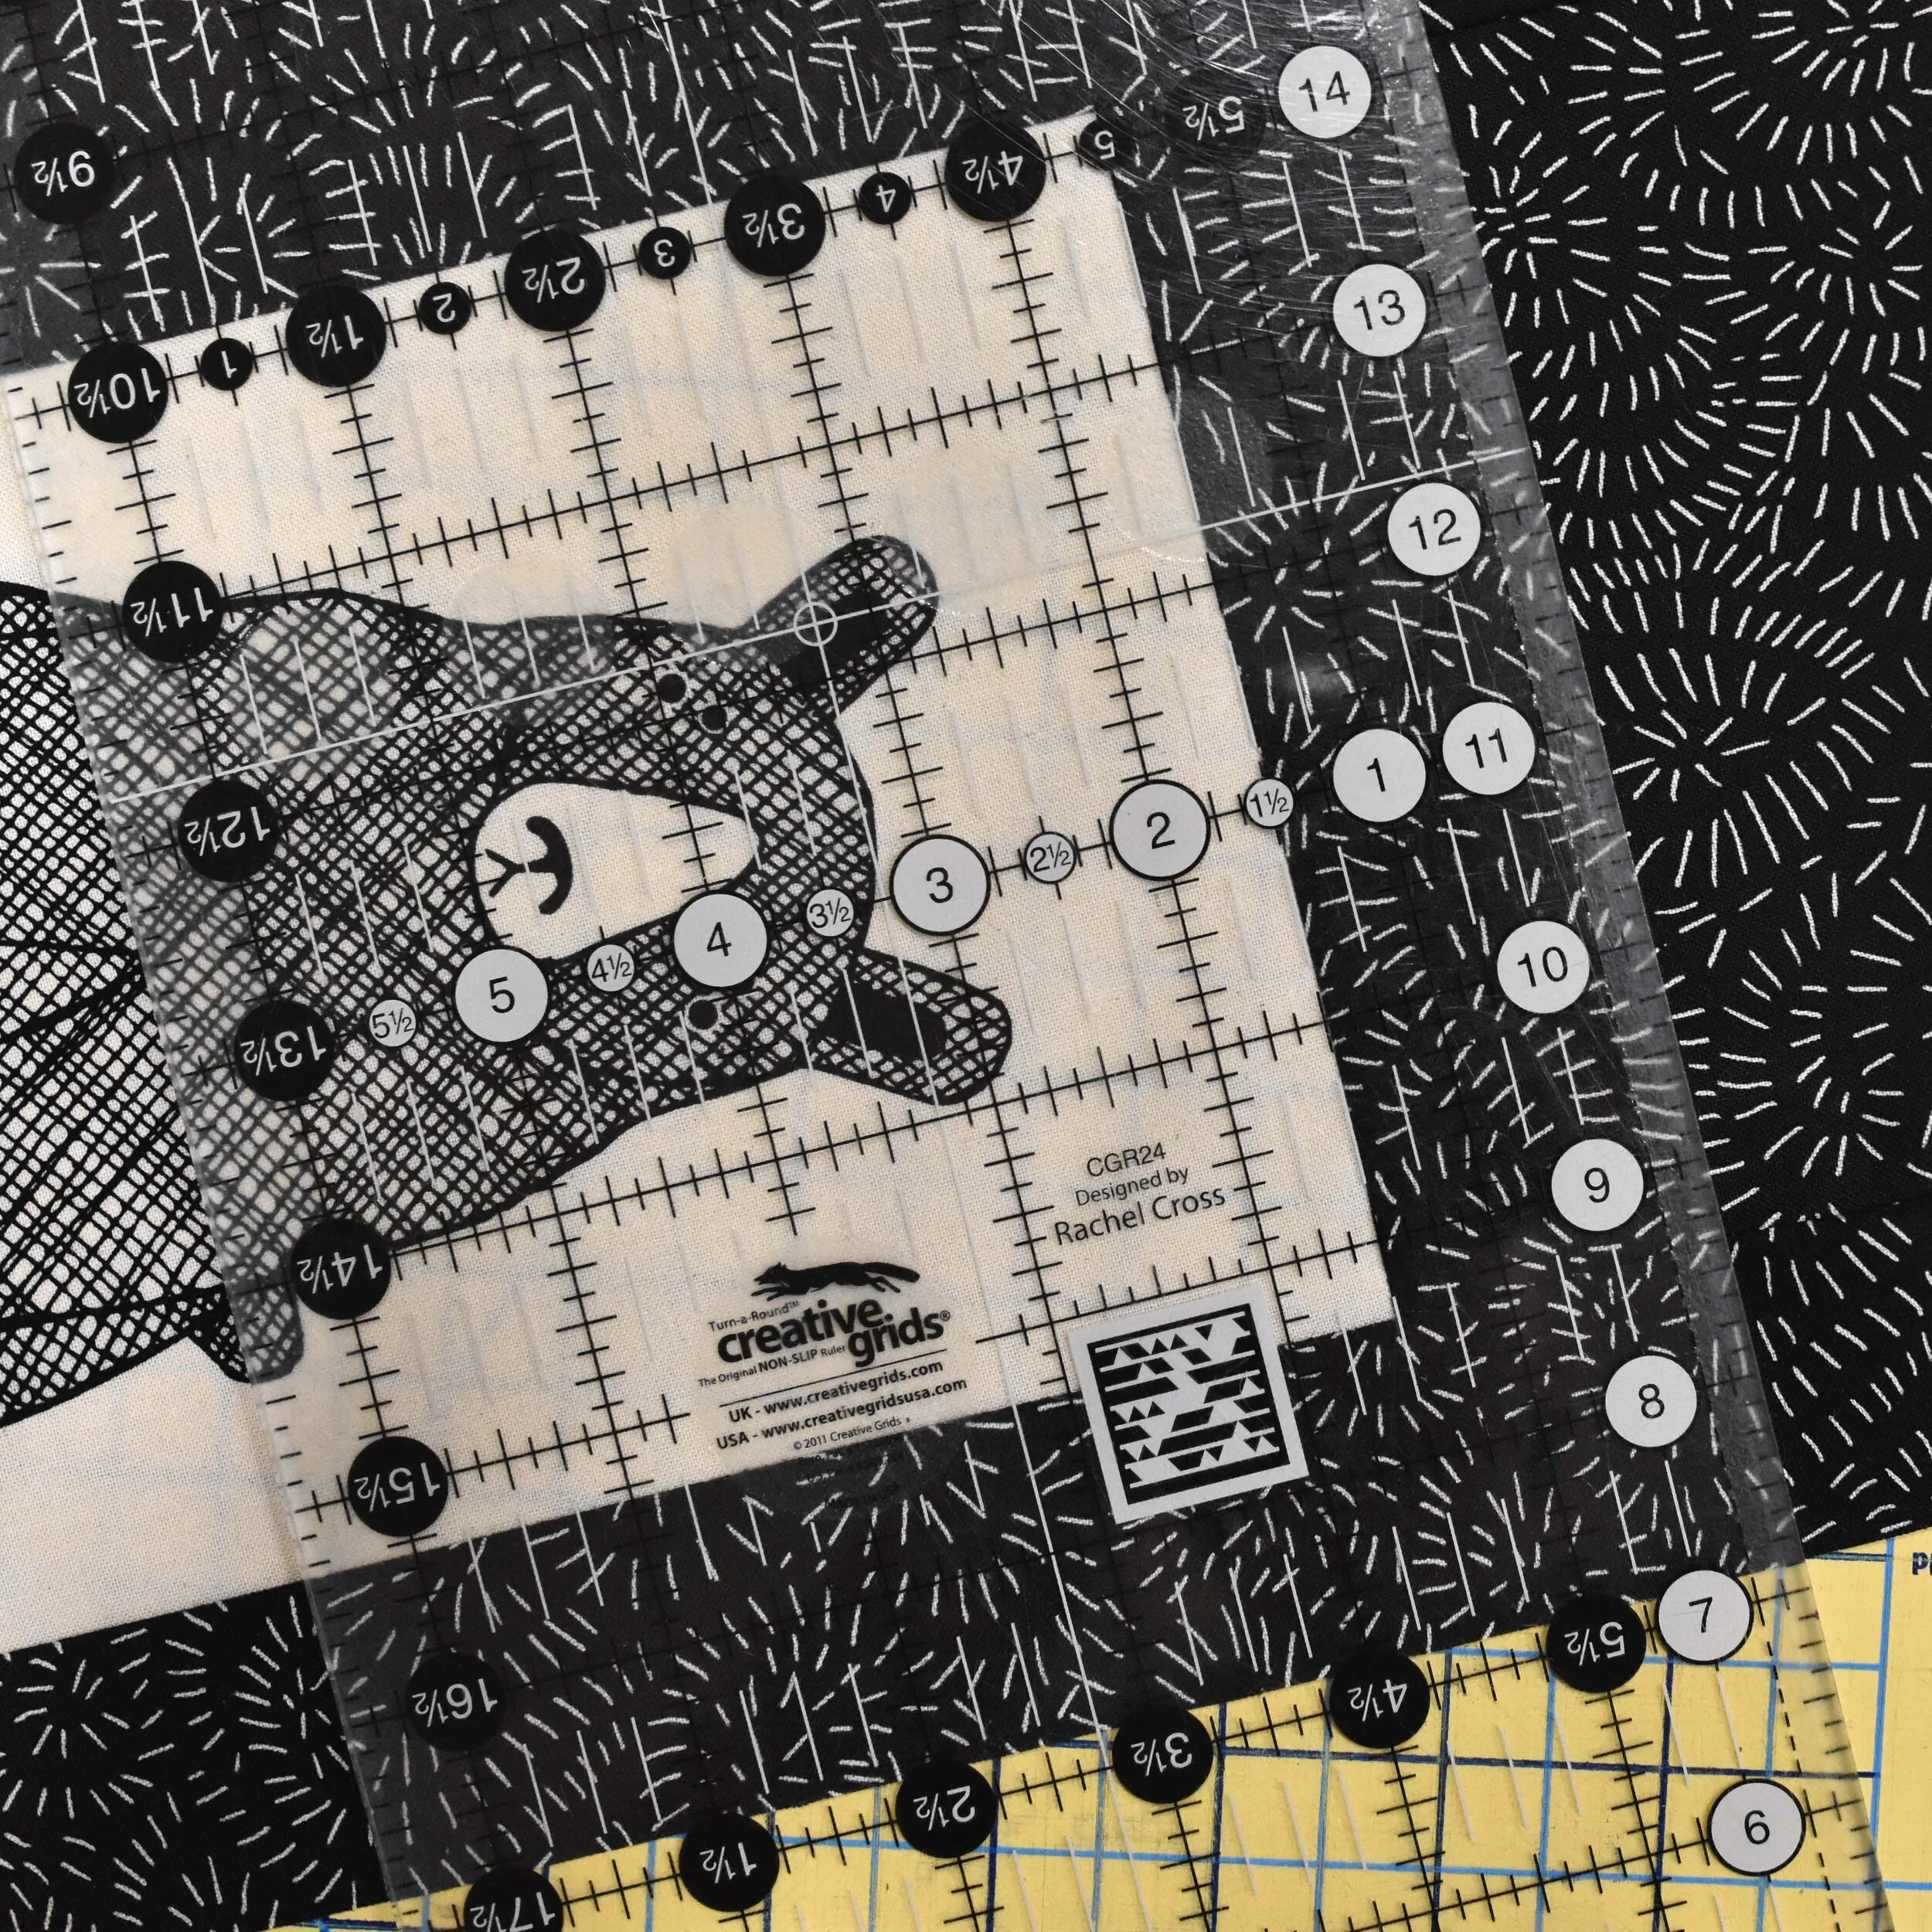
Borders are tricky but not impossible. Here I’ve trimmed 1/4” from the edge of the design so my sashing will end up right along the edge of the panel.
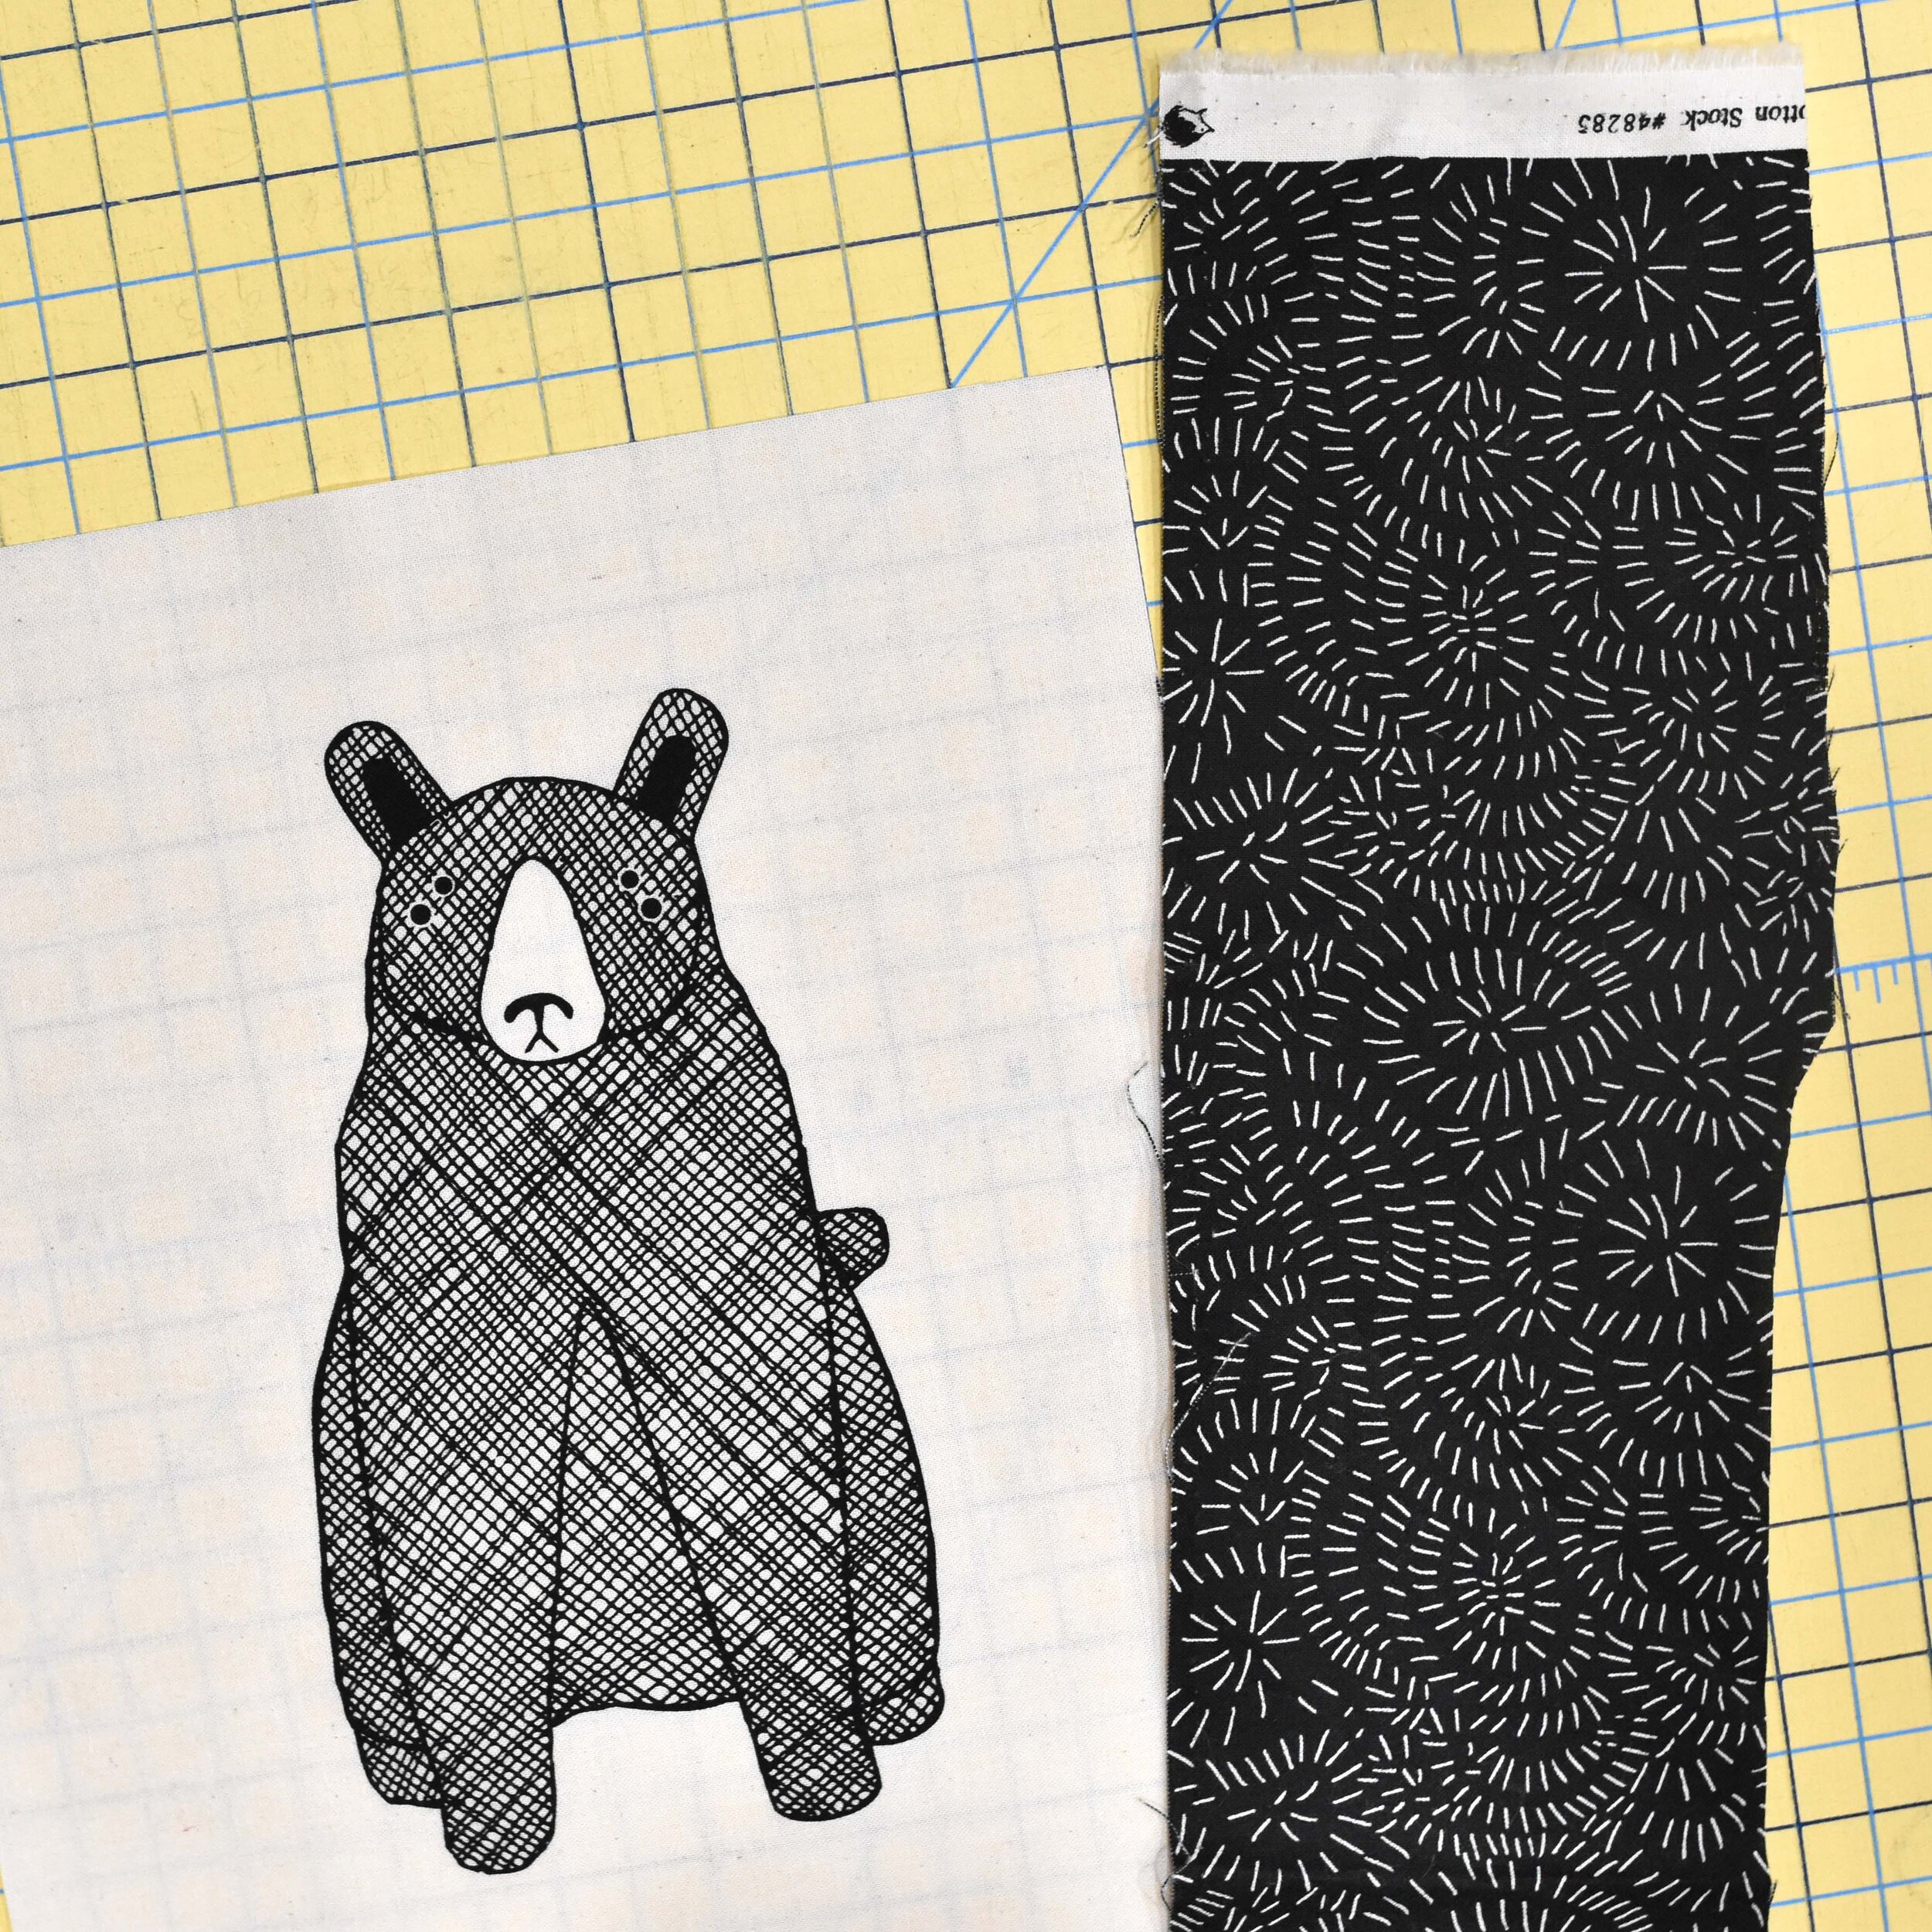

2. Sash it big!
-
There will be a point in this process where you need exact math, this is not it. Guestimate how much you’ll need for each border and round up by approximately 1”. You could math it down right now, but similar to why we square HSTs after sewing, its a great idea to sew big and square down.
-
Note- only one side of the sashing needs to be perfectly straight for sewing. The outside edge will get squared off later
-
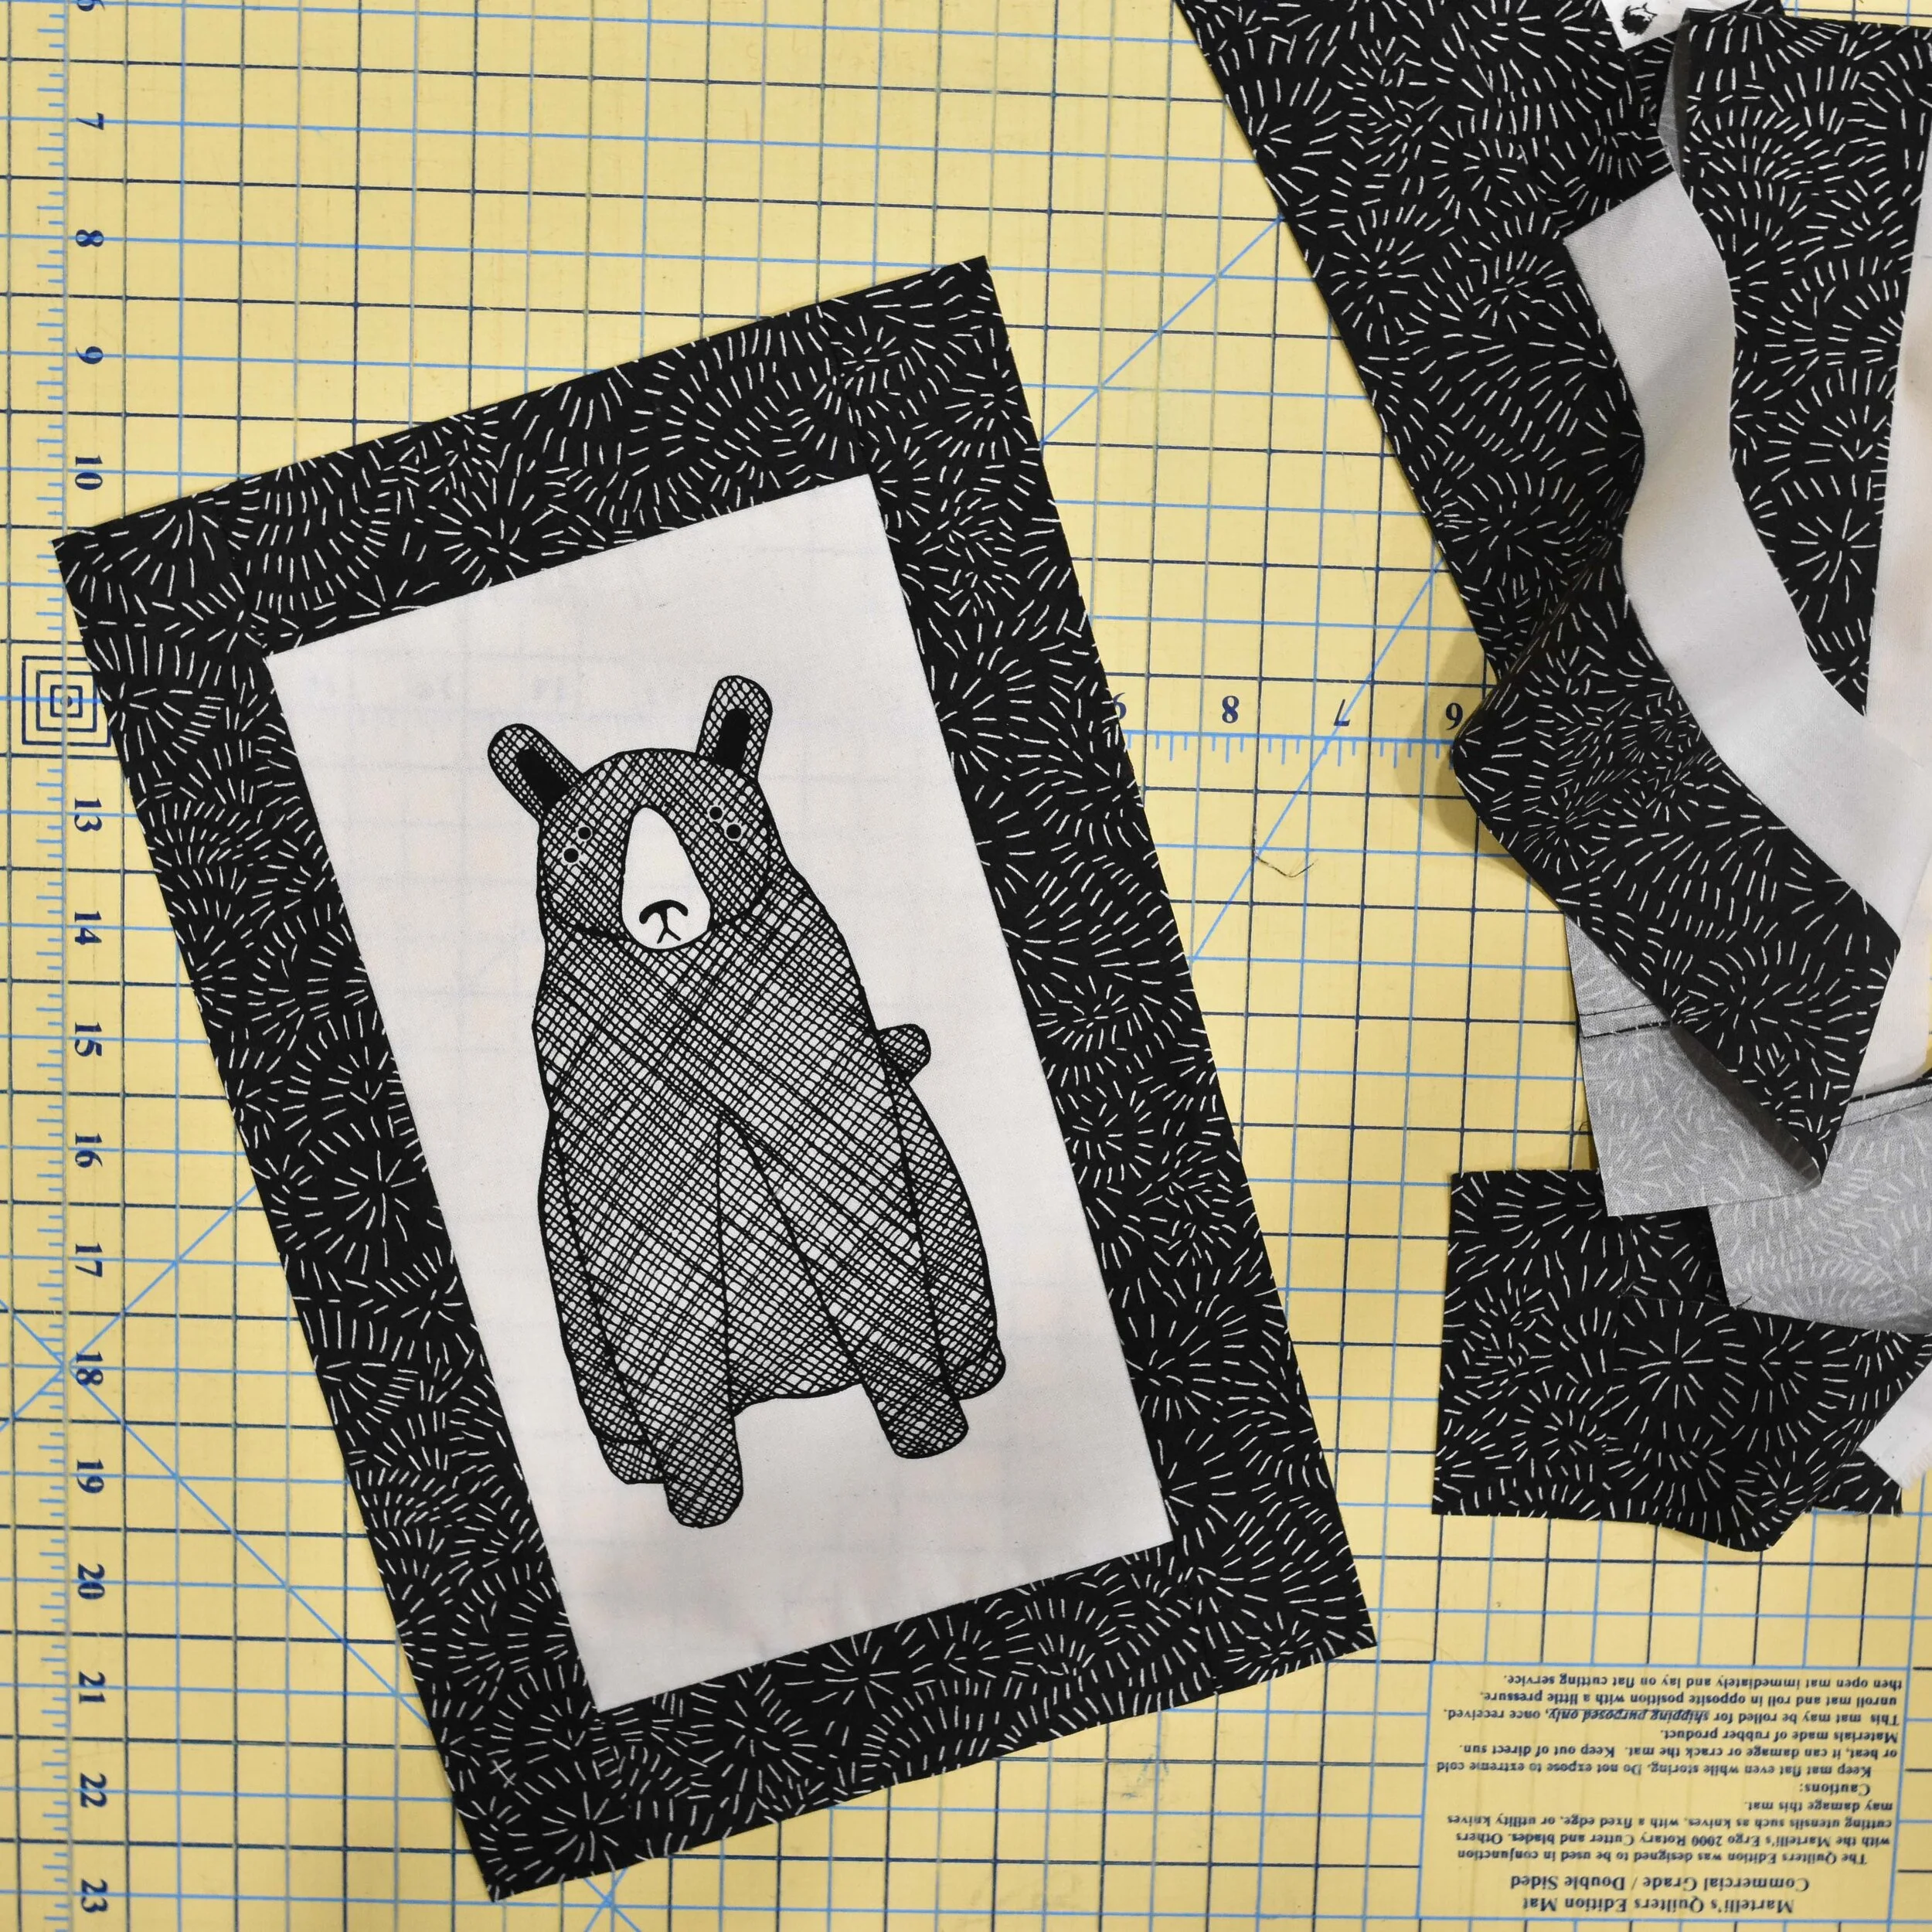
Picture 3 is where I realized that I had made the center panel too wide for my intended project. Because the sashing was extra huge and this panel had plenty of negative space, I was able to trim and flip it without un-sewing anything. I used the math explained down below to adjust in a way that the borders will end up the same all the way around.
-
Math
-
This is why we used round numbers when trimming. If you know how big it needs to be with borders on, you can divide that by 2. Then divide the finished size of the panel by 2. This tells you how big to trim the borders to
-
(size needed ÷ 2) - (finished panel size ÷ 2)= (border size)
-
example:
I need this piece to be 8” wide to sew it into the quilt. Once sashed this panel is 5” wide.
(8” ÷ 2) - (5” ÷ 2) = border size
4” - 2.5” = 1.5”
So I’ll trim the border 1.5” from the edge of the panel.
-
-
Do this separately for the horizontal and the vertical. Unless you’ve scrolled to the bottom for more math tips, you will most likely get different border sizes.
-
Technically you can divide the sashed panel in half and measure out from the center then trim, but there is more room for error and wavy borders.
-
-
Tada! Piece this into the rest of your quilt.
More math.
If you want to have even borders on all sides, use this math. It’s not tricky, but you will most likely lose some of your image.
-
First compare LxW of the squared up panel to LxW needed after sashing. Do you have more difference in the length or the width? The one with the bigger difference is the one that determines the size you need you panel to be trimmed to.
-
Take whatever number that bigger difference is and subtract it from the finished measurement of the direction with the smaller difference. That is the size your panel needs to be in that direction.
-
Trim the panel to the size determined in step 2 and sash.
Example.
You need a sashed and trimmed panel that measures W 8” x L 10”. You have an unfinished panel that is measuring W 7” x L 8”.
Subtracting the current size of the panel from the size needed, you get a 1” difference in W and a 2” difference in L.
Since 2” is the bigger difference, you’ll subtract that from the needed size of the other direction (in this case 8” W) to see that in order to have even borders you need the unfinished panel to measure W 6” x L 8”
From there simply follow the steps outlines above
Happy Sewing!
Catherine